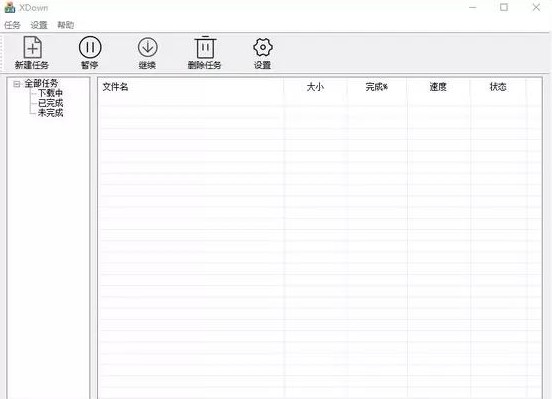
更新时间:2016-01-31 16:19:06浏览次数:496+次
wen.lu的google反代早已开源,这两天折腾了一下在LNMP下如何方便的添加google反代扩展。在军哥的LNMP1.3下加载nginx扩展很方便。随手记录一下,搭建个自己的反代镜像吧!首先是安装LNMP环境,其实过程中装个nginx就行了,不过可能有别的建站需求,实际情况可以一起装。装好后开始下面的过程。
项目Github地址:https://github.com/cuber/ngx_http_google_filter_module/
#升级下系统
Debian/Ubantu系apt-get update
CentOS系yum update
# 安装 gcc & git,如果上面update成功,也有可能gcc已经安装好了
Debian/Ubantu系apt-get install build-essential git gcc g++ make
CentOS系yum install gcc gcc-c++ git make
# 下载最新版源码
#
# 下载最新版 pcre
# pcre 官网:
# http://www.pcre.org/
#wget "ftp://ftp.csx.cam.ac.uk/pub/software/programming/pcre/pcre-8.38.tar.gz"
# 下载最新版 openssl
# opessl 官网:
# https://www.openssl.org/
#wget "https://www.openssl.org/source/openssl-1.0.1j.tar.gz"
# 下载最新版 zlib
# zlib 官网:
# http://www.zlib.net/
#wget "http://zlib.net/zlib-1.2.8.tar.gz"
# 下载Google反代模块扩展
#git clone https://github.com/cuber/ngx_http_google_filter_module
# 下载 substitutions 扩展
#git clone https://github.com/yaoweibin/ngx_http_substitutions_filter_module
# 解压缩
#
tar xzvf pcre-8.38.tar.gz tar xzvf openssl-1.0.1j.tar.gz tar xzvf zlib-1.2.8.tar.gz
# 进入LNMP目录,以LNMP1.3为例
#
cd lnmp1.3-full
修改lnmp.conf文件,添加nginx扩展编译参数
Nginx_Modules_Options='--with-pcre=/root/pcre-8.38 --with-openssl=/root/openssl-1.0.1j --with-zlib=/root/zlib-1.2.8 --add-module=/root/ngx_http_google_filter_module --add-module=/root/ngx_http_substitutions_filter_module'
保存退出
#用升级脚本升级nginx,./upgrade.sh nginx,输入nginx版本,比如1.8.1,然后开始升级
#
# 升级nginx完毕后我们查看nginx扩展nginx -V,如果以上几个扩展全都加上去了就对了。
#最后,就是新建个虚拟主机,然后修改该域名的conf文件,vim /usr/local/nginx/conf/vhost/cmsky.com.conf
http配置方式
server { server_name <你的域名>; listen 80; resolver 8.8.8.8; location / { google on; } }
https配置方式
server { server_name <你的域名>; listen 443; ssl on; ssl_certificate <你的证书>; ssl_certificate_key <你的私钥>; resolver 8.8.8.8; location / { google on; } }
推荐使用https方式,如果不用ssl证书域名容易被照顾。以上例举的仅是最简单配置,更多配置可以参考项目github介绍。
演示地址:https://g1.wen.lu/